
DIY Glitter Water Bottle
This post contains affiliate links.
Today I’m sharing one of my favorite DIY projects I’ve ever done! These would make excellent gifts for family and friends for the upcoming holidays. I love the idea of making personalized water bottles or cups with lids for house guests when they come to stay.
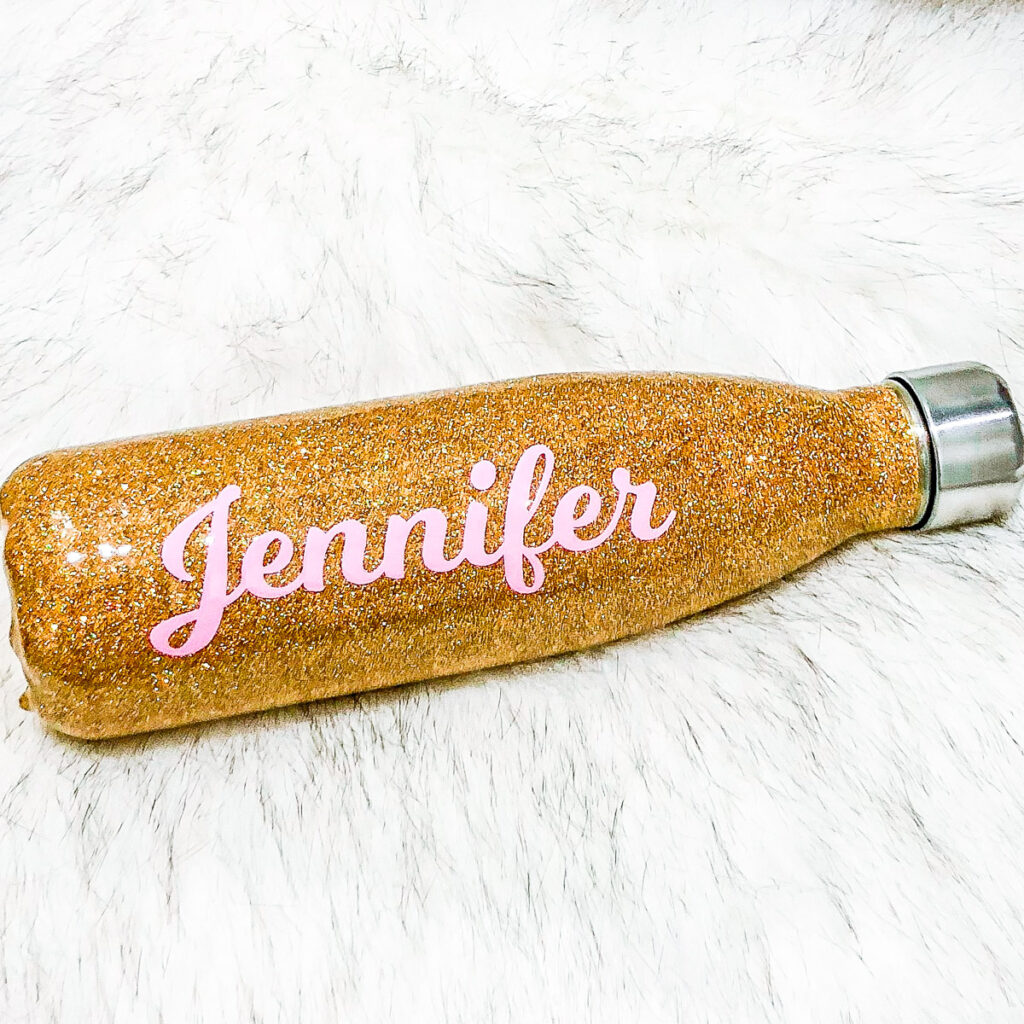
The idea came to me after seeing a photo of a Yeti tumbler that someone had glittered. I have a Swell water bottle that I carry with me throughout the day no matter if I’m at home or out and about. It serves as a constant reminder for me to drink water. Since I use this bottle daily it’s had it’s fair share of drops so it had scratches, a few dents, and was showing wear so I decided that I wanted to give it a makeover. I did some extensive research on good old Google and found a few tutorials that I used to make my own version of a DIY glitter tumbler with my water bottle.
The process was not difficult at all but it does take quite some time to complete one with all of the drying time in between each step. I’d also like to note that if you do research on the techniques to make glitter tumblers, you will find many variations of the process. Since I was just doing this for fun, I went with the least expensive and easiest way.
Materials:
- Mod Podge
- Foam Brush
- Epoxy
- Mixing Cups
- Gloves
- Fine Glitter
- Cardboard Box
- Parchment Paper (or something to protect your working surface)
Optional:
The first step in the process is choosing your tumbler or water bottle and figuring out how you are going to secure it to work on it. I used a Swell water bottle and stuck a baby bottle brush inside so I had a handle to hold on to when working on my bottle. If you are glittering a larger tumbler like a Yeti, many people use a foam football with a dowel rod stuck into it. Whatever you use, you need something to stick inside of your bottle to keep it stable and have something to hold turn your bottle.
Let’s get started…
The first step in the process is choosing your tumbler or water bottle and figuring out how to best secure it while you work on it. I used a Swell water bottle and stuck a baby bottle brush inside so I had a handle to hold on to when working on my bottle. If you are glittering a larger tumbler like a Yeti, many people use a foam football with a dowel rod stuck into it. Whatever you use, you need something to stick inside of your bottle to keep it stable and have something to hold on to while you turn your bottle/cup. You also need to tape off any spots that you don’t want glitter or epoxy to touch. In my case, I taped the entire top portion of my bottle off where the lid screws on.
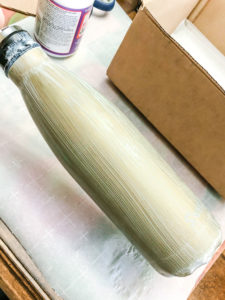
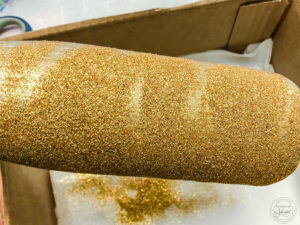
When you have your cup secured and masked off, the next step is to cover your bottle/cup with Mod Podge and then cover it with glitter. I used a foam brush to apply the Mod Podge and then sprinkled the glitter right of the bag onto my bottle. Make sure that the glitter covers your bottle completely but don’t make it too clumpy or thick because you’ll add more layers after the first one dries. I let mine dry for a little over an hour.
Time for the epoxy…
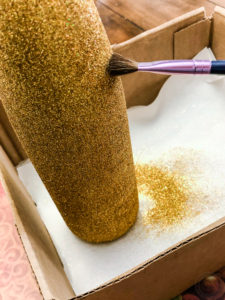
After your first layer is dry, use a small dry paintbrush and gently brush over the entire bottle. This will knock off all of the excess glitter and allow your next layer to go on smoothly. You will then repeat the process of painting on Mod Podge and covering with glitter. I ended up putting two layers of Mod Podge and glitter on my bottle. If you are using a lighter color glitter, you may need more layers. Always make sure that the layers are completely dry before adding another one.
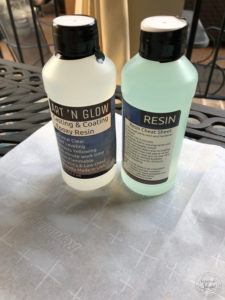
Once you have the glitter coverage that you want and the layers are completely dry it’s time to apply the epoxy. I covered the area that I was working in with parchment paper to protect it from any drips or spills and also wore disposable gloves to protect my skin. I poured 15ml of both epoxy solutions in separate disposable cups and then very slowly combined them together.
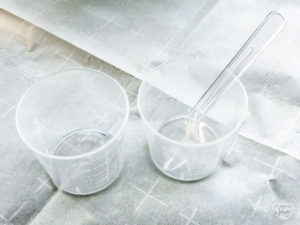
The most important part of working with the epoxy is to minimize air bubbles from forming. The solution has to be stirred extremely slowly to prevent them. You will notice that when you begin mixing the two solutions together, the mixture becomes cloudy and streaky. Continue stirring the mixture until it is clear with no streaks running through it. Once you have a clear mixture it’s time to apply it to your bottle.
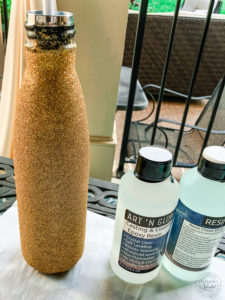
I held my bottle horizontally and poured a line of epoxy from one side to the other. Then I used my finger (with gloves on) to smooth the epoxy over the bottle. I continued this process until my entire bottle was covered. I preferred spreading the epoxy with my finger instead of a brush because I could feel the glitter and I was able to tell whether or not there were spots that I had missed covering.
Side note: I did read that you can use an embossing gun to pop any air bubbles that form in your epoxy. I couldn’t find mine so I didn’t use one and my bottle turned out fine with no air bubbles in it. I’m not sure if I was just lucky or if I applied the epoxy in a way that prevented them from forming. In any case, I wanted to pass the info along.
Set it up to dry…
The most tricky part of the entire process for me was trying to figure out how to let my bottle dry after the epoxy was applied! Since I had the bottle brush stuck in the top of it, I tied string around the brush handle and suspended it over a cardboard box to catch any drips. Also if you hang it up, it’s VERY important to go in every so often and use something to smooth out the drips on the bottom since the epoxy will run down to the bottom of the bottle. It’s recommended that you let it dry for at least 12 hours before moving on to the next step.
Once the first epoxy layer is dry you may notice clumps of glitter sticking up through it. Wet sanding the bottle will get rid of these spots and give you a smooth surface to work with. I used a fine sandpaper and sanded my bottle as I held it under running water in the kitchen sink. I sanded my bottle until I could run my hand across it and not feel any rough pieces sticking out. After making sure that it was completely dry I applied another epoxy layer just as I had done the first one and let it dry for another 12 hours.
Time to personalize…
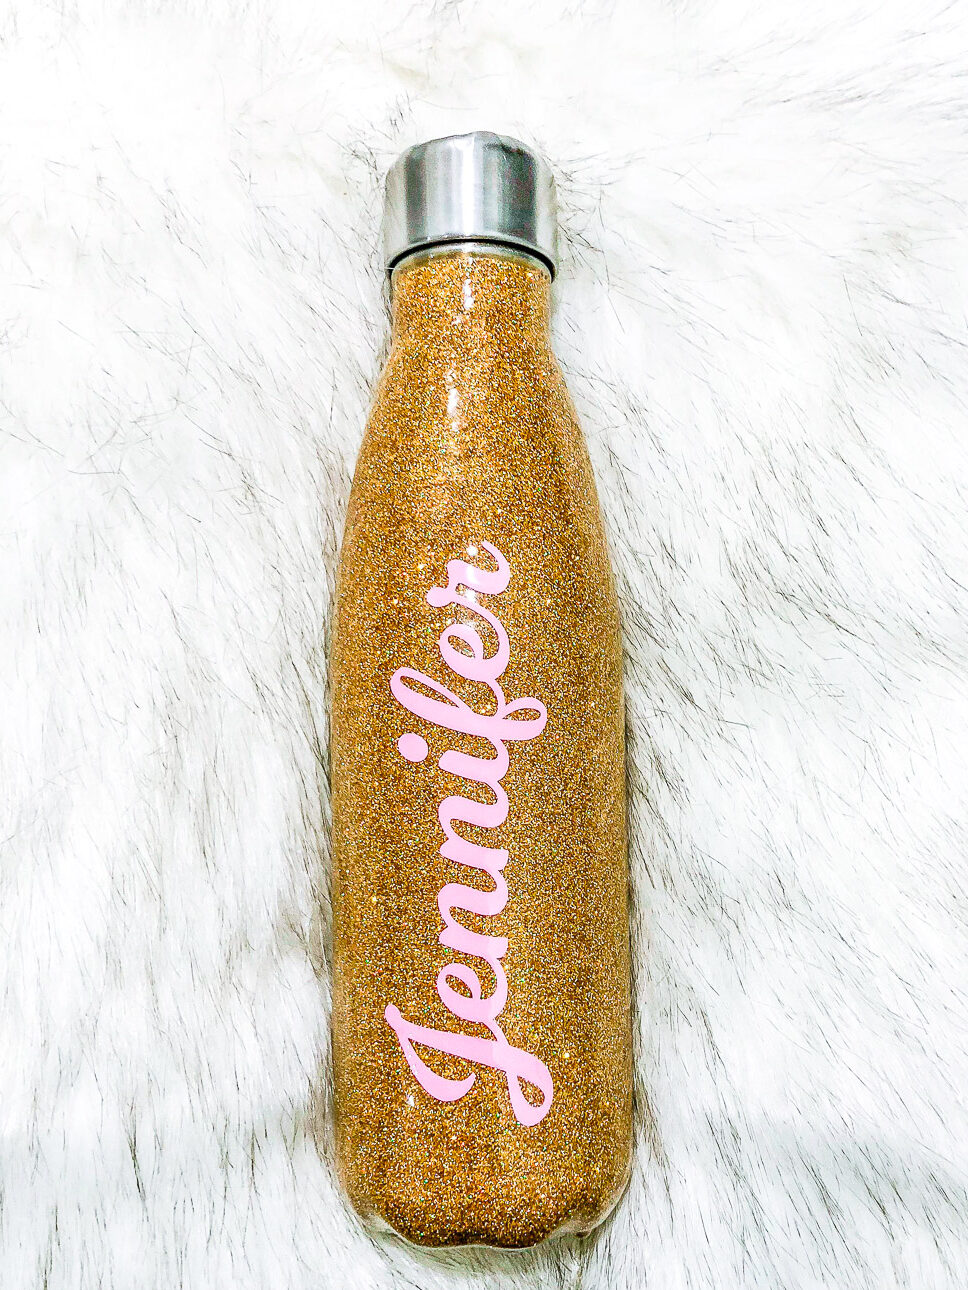
Now that my bottle had two layers of epoxy on it, it was time to apply my name. I used my Silhouette Cameo to cut my name out of vinyl and then applied it to my bottle. I then repeated the process of applying another epoxy coat on my bottle making sure to completely cover my name.
After another 12 hours of drying time, my project was complete and I couldn’t be happier with the result! I am planning to make a few of these for holiday gifts this year since this one turned out so well and was pretty easy to do.



With this hanging did it not dry with drips on the bottom?
There were some small bumps BUT I went in and wiped the drips every 30 minutes or so they weren’t really an issue.